The Tools You Need To Build Your Yardistry Direct Gazebo
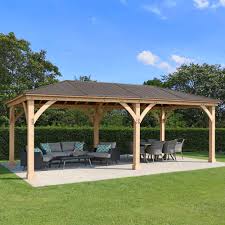
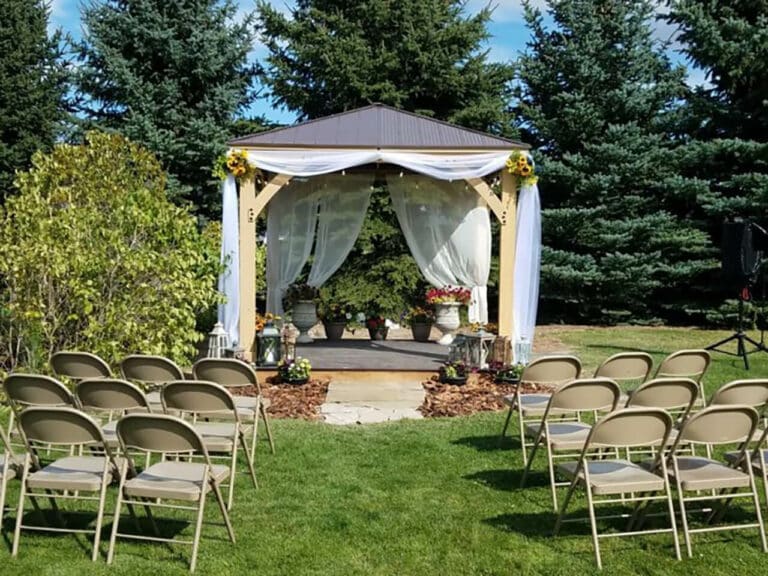
Yardistry Direct Gazebos, pergolas and greenhouses are delivered for DIY home build, complete with step by step manuals. Before you build, it is useful to organise your tools and appropriate hardware. There are helpful videos online to assist you with building; just visit our ‘You Tube’ channel for more info.
IMPORTANT – Wear gloves to avoid injury from possible sharp edges of individual elements before assembly. Use approved safety glasses. FOLLOW ALL SAFETY WARNINGS PROVIDED WITH YOUR TOOLS. Some structures may require two or more people to install safely. CHECK FOR UNDERGROUND UTILITIES BEFORE DIGGING OR DRIVING STAKES INTO THE GROUND.

What tools will I need?
- Tape Measure
- 6’ Step Ladder x 2
- Square
- Ratchet
- 7/16, 1/2 & 9/16 Socket
- 8’ Step Ladder
- Safety Glasses
- Adult Helper/s
- Safety Gloves
- Hard Hat
- Carpenters Level
- Standard or Cordless Drill
- #2 Phillips Bit or Screwdriver
- 7/16” & 9/16” Wrench
The illustrated step-by-step instructions will guide you through every step of the installation. It is a ready to assemble kit with all wood pre-cut and pre-drilled. All hardware and metal components needed for assembly are included. We are also proud to provide a 5-year limited wooden component warranty.
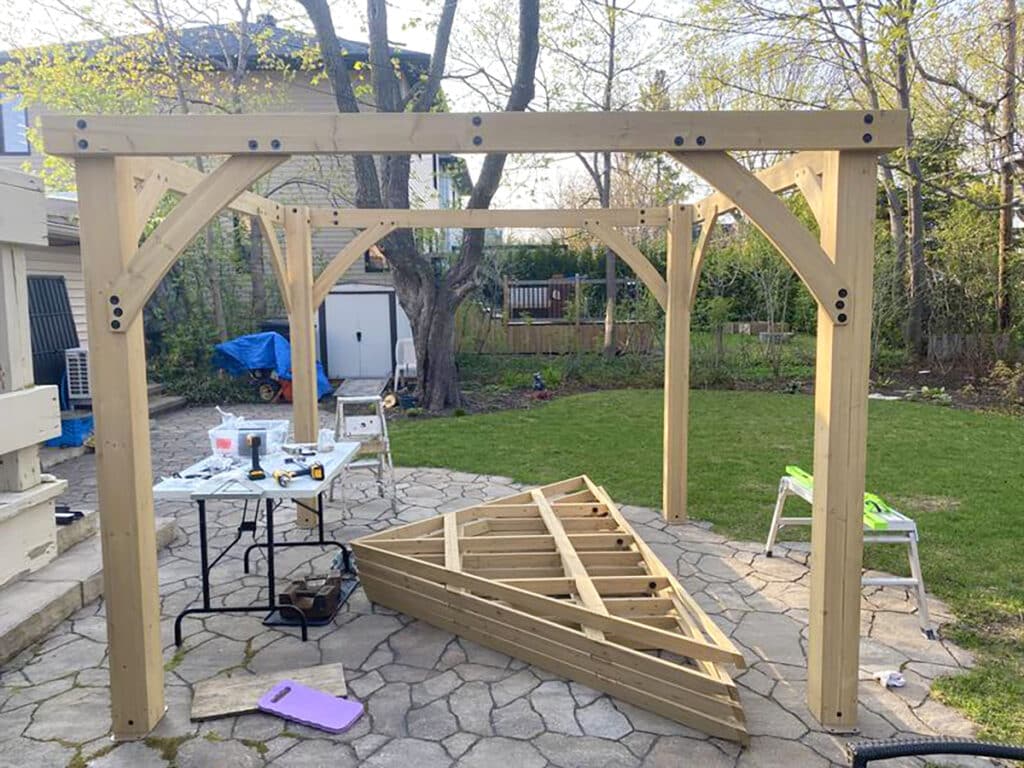
TIPS FOR PRE-ASSEMBLIES:
(Post and Beam Assemblies, Roof Rafter Assembly,etc)
- Work on a raised, solid and flat surface such as, a table or saw horse.
- Keep all connections flush where shown in the instructions.
- When assembling the beams keep parts flat, straight and snug when
connecting.
METAL PARTS: - Roofing material may have sharp edges, wear safety gloves.
- Remove all plastic covering, on both sides of the metal panels, directly
before installing each piece. - Place roofing material on a non-abrasive surface before and after assembly
as it can bend, dent and scratch easily. - The roofing screws can easily crush the roof panels and roof edges when
using a power drill. We recommend hand tight
Our online live chat operatives are here to assist you. Let us know if you have any queries but until then…happy building!