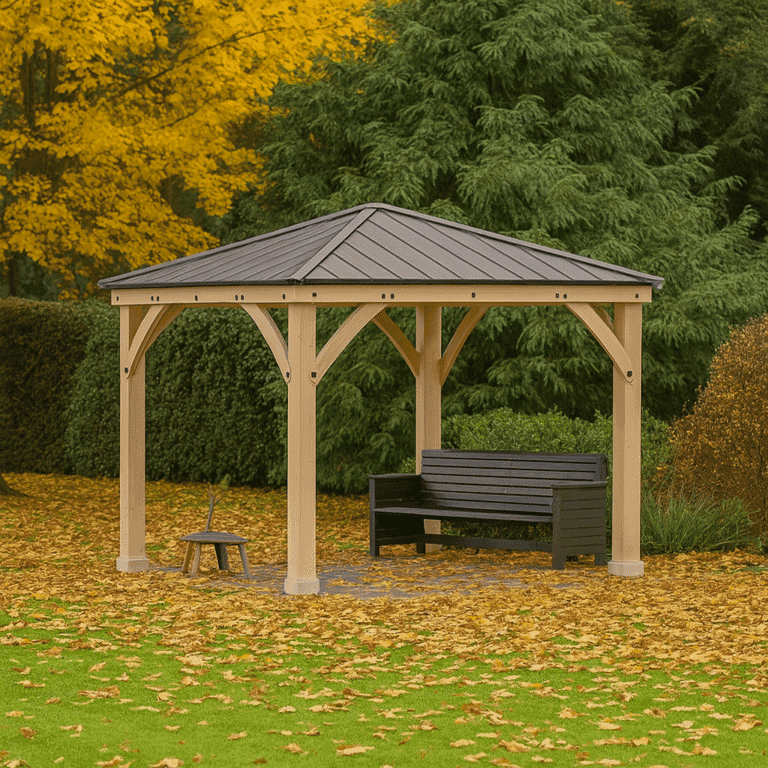
Top 10 Tips for a Smooth Gazebo Installation
1. Choose the Right Location
Pick a flat, level surface with good drainage. Avoid placing your gazebo over tree roots, uneven turf, or soft soil that may shift. For permanent installations, consider concrete pads or decking. For more guidance, explore our top 10 tips for ensuring a smooth installation process for your gazebo.
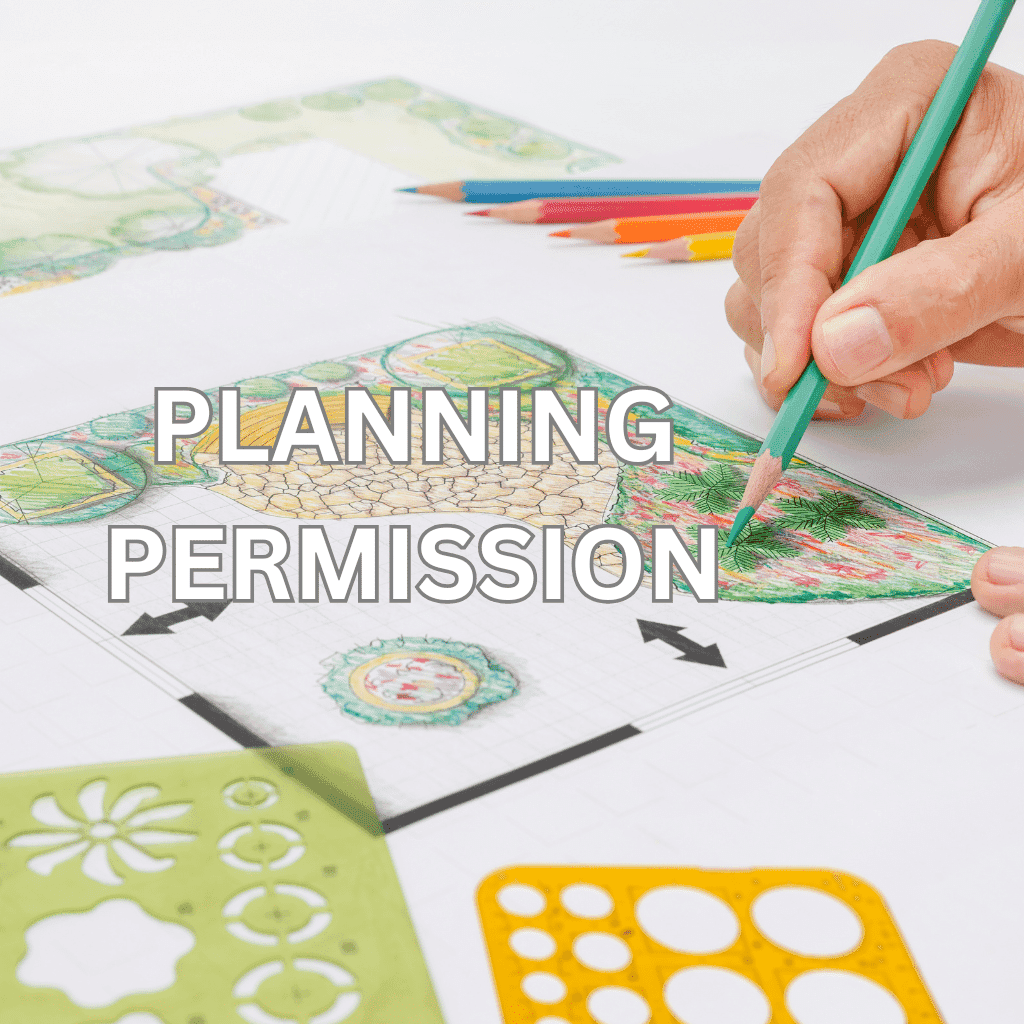
2. Check Planning Permission
In most UK cases, gazebos under 2.5m in height and away from boundaries don’t require permission, but always check with your local council, especially for larger or enclosed structures. Ensuring compliance is part of the key guidance in the ten tips for a gazebo’s smooth installation.
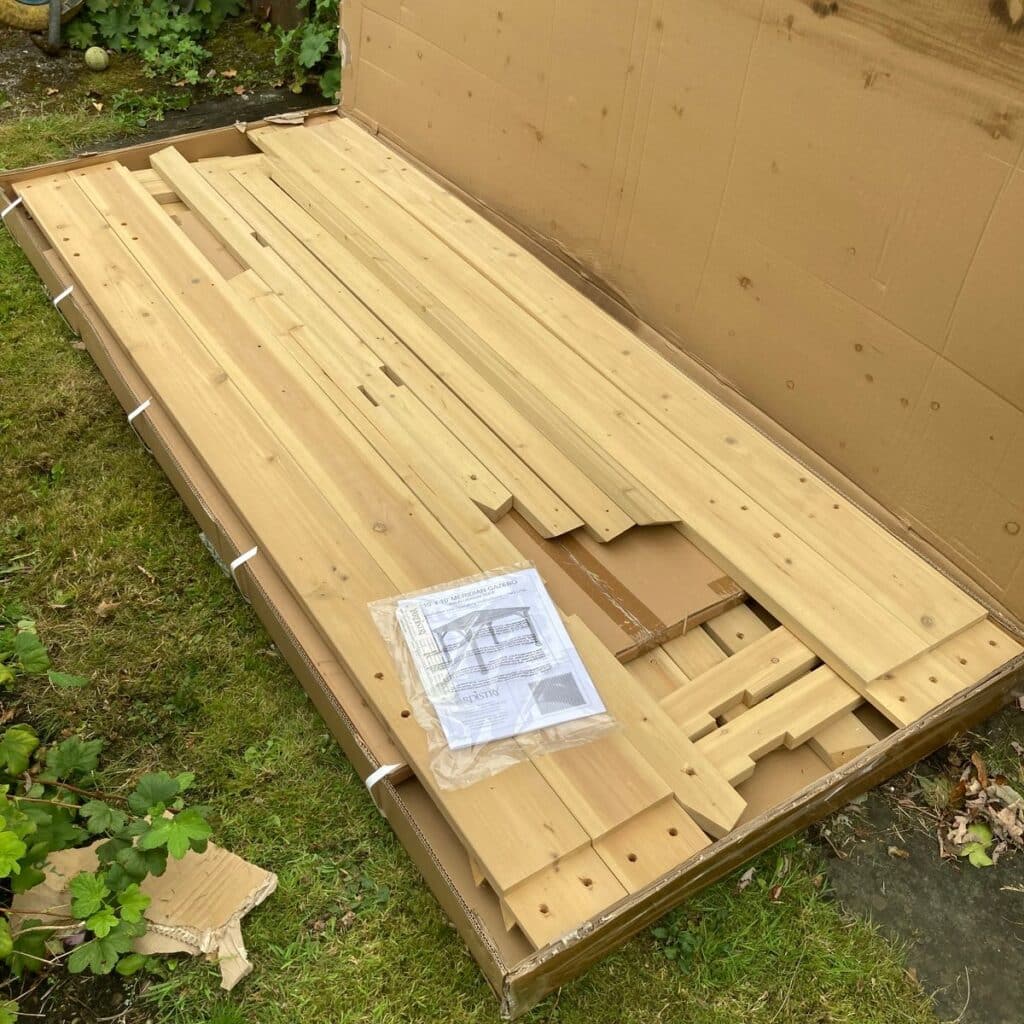
3. Unpack and Inventory All Parts
Before starting, lay out all components and cross-check them against the instruction manual. Missing bolts or misidentified panels can cause delays later and disrupt a smooth gazebo installation.
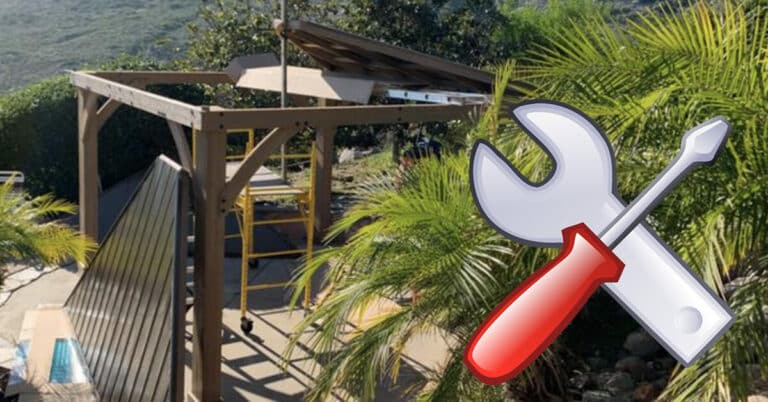
4. Use the Right Tools
Prepare a toolkit with a rubber mallet, cordless drill, spirit level, ladder, and safety gloves. Having everything ready avoids mid-build frustration and contributes to the top 10 tips for a seamless installation of your gazebo.
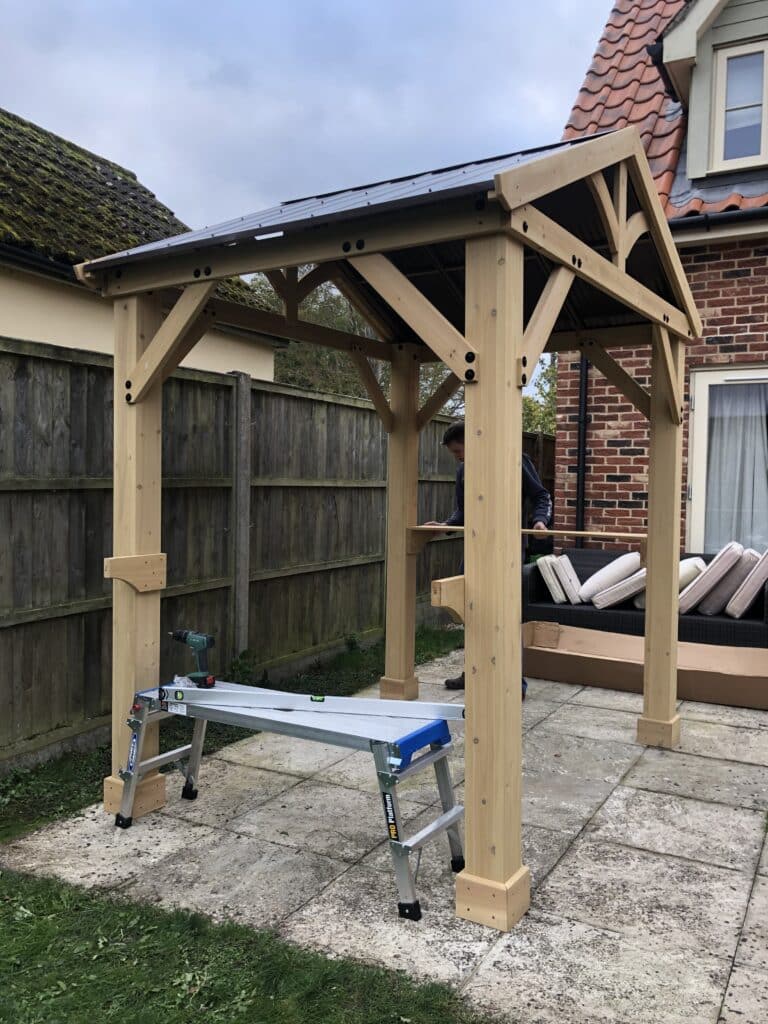
5. Assemble with a Partner
Most gazebos require at least two people for safe and efficient assembly. One person can stabilise while the other aligns and fastens components, making the process smoother.
6. Start with the Frame
Begin by assembling the base and upright posts. Ensure all legs are vertical and square before attaching the roof structure. Use a spirit level to check alignment for a smooth installation experience.

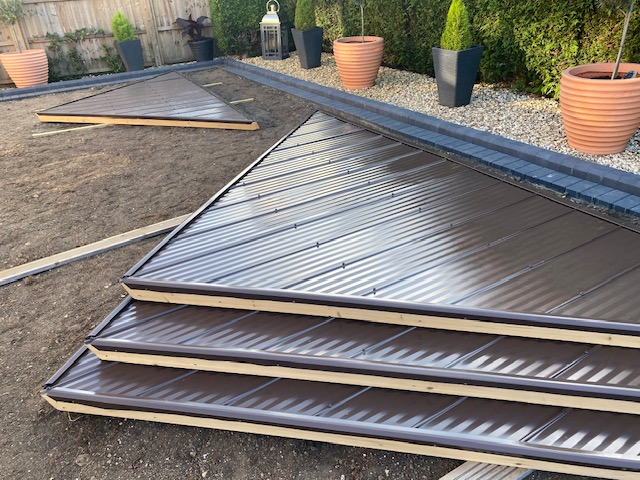
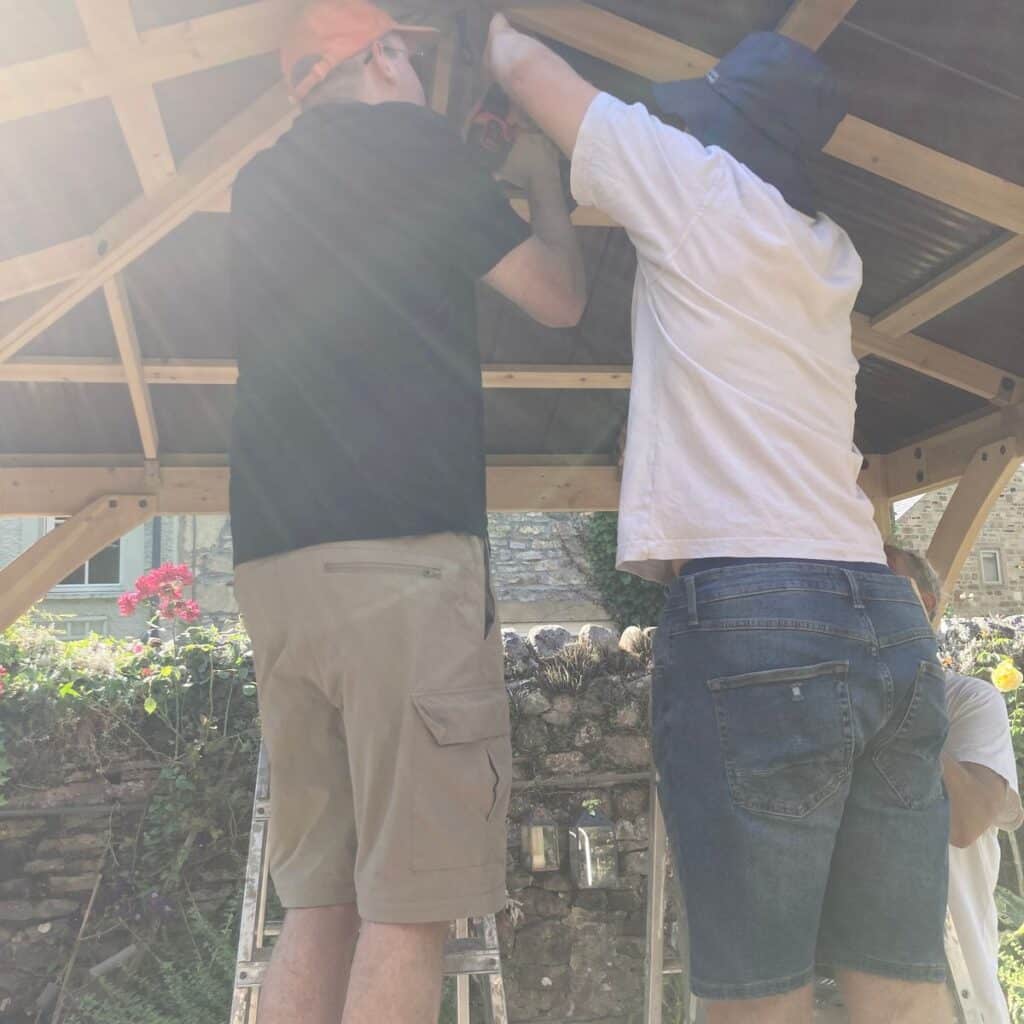
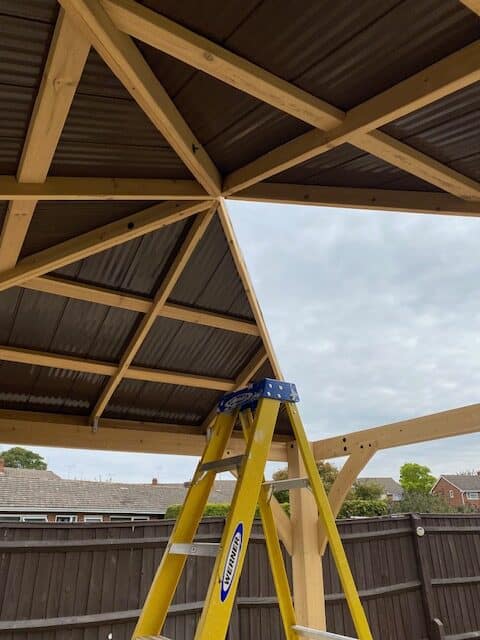
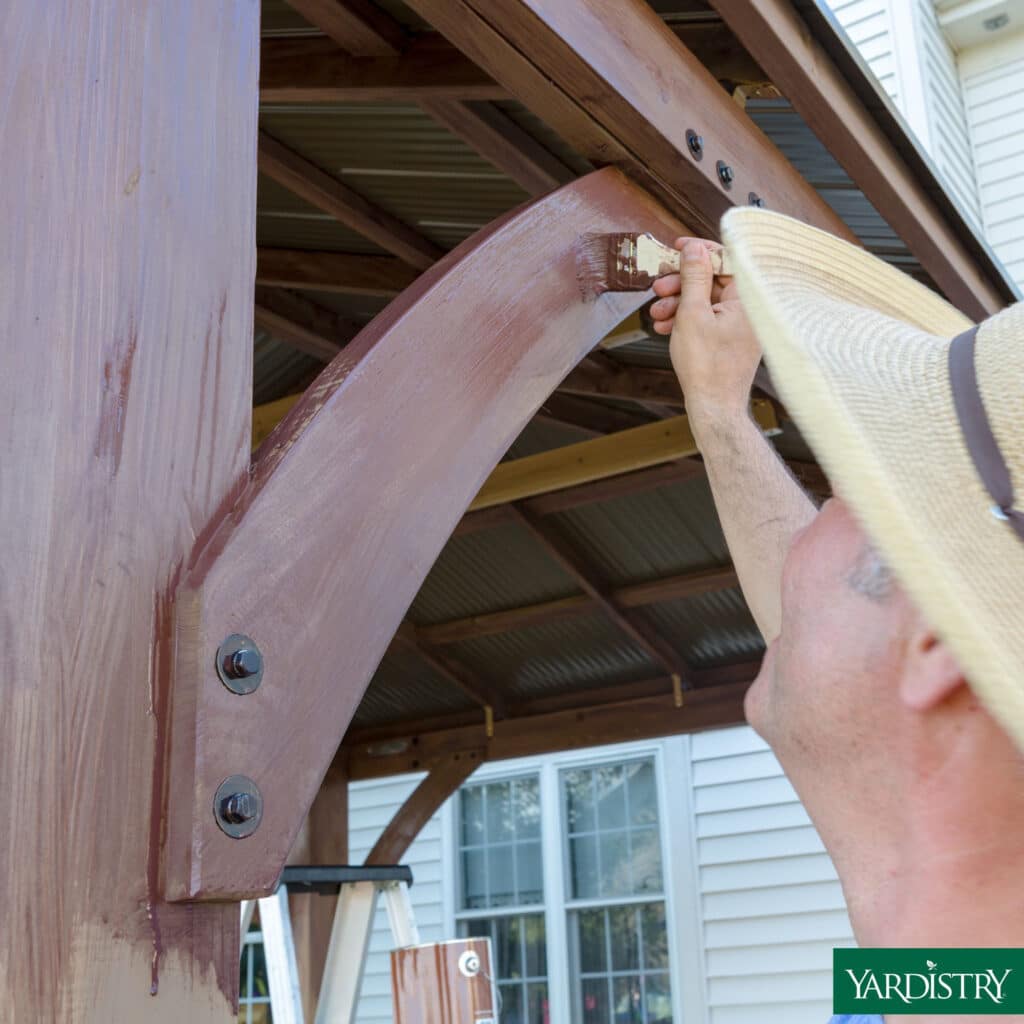
7. Secure the Roof Carefully
Whether it’s a metal canopy or cedar shingles, install roof panels gently and evenly. Avoid overtightening screws, which can warp materials or strip threads during the gazebo installation.
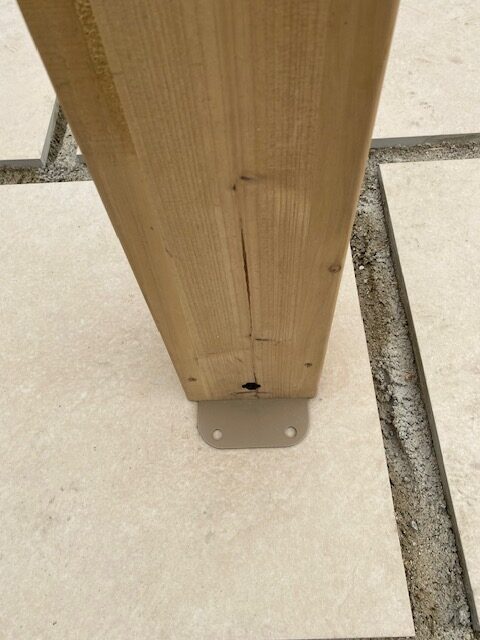
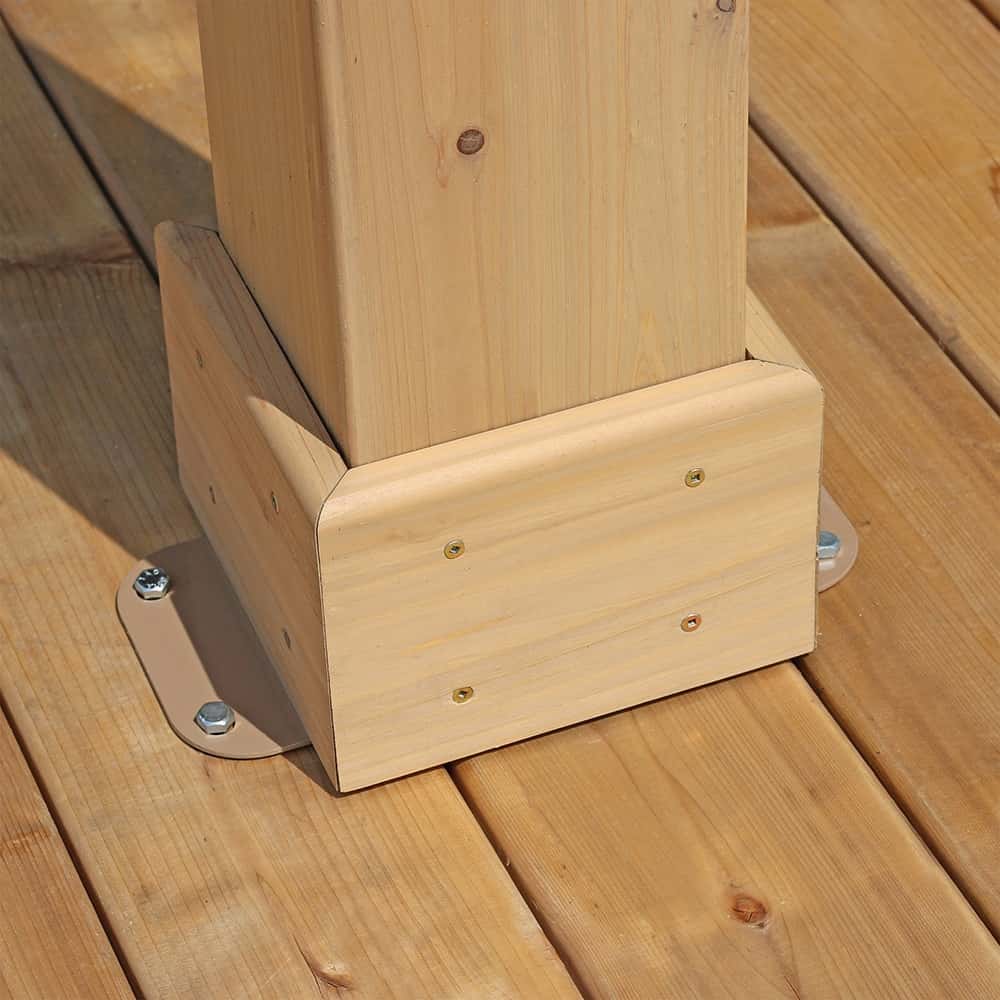
8. Anchor for Stability
Use ground stakes for soft surfaces or weighted leg bags for patios. For permanent setups, bolt the legs to concrete or decking. Proper anchoring is crucial in the top 10 tips for a smooth gazebo installation to ensure longevity and safety.
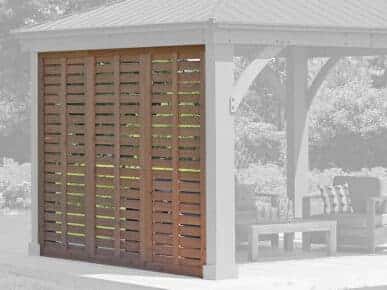
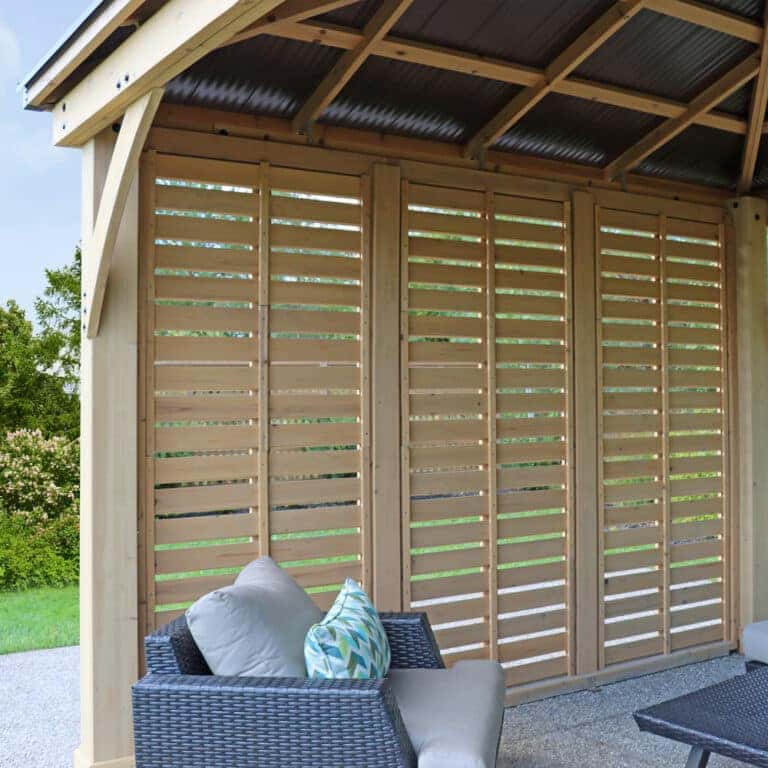
9. Add Finishing Touches
Install curtains, mosquito nets, or lighting once the structure is secure. These accessories enhance usability and comfort without interfering with assembly, completing the installation smoothly.

10. Inspect and Maintain
After installation, check all joints and fasteners. Re-tighten after 24 hours and inspect seasonally. A well-maintained gazebo lasts longer and performs better, aligning with our top tips.
Bonus Tip: Document the Process
Take photos during installation — they’re useful for future maintenance, warranty claims, or sharing your setup with the Yardistry community and ensure you follow top tips for a smooth installation process.
Ready to install your own cedar gazebo? Explore our full range and download assembly guides at Yardistry Direct.